|

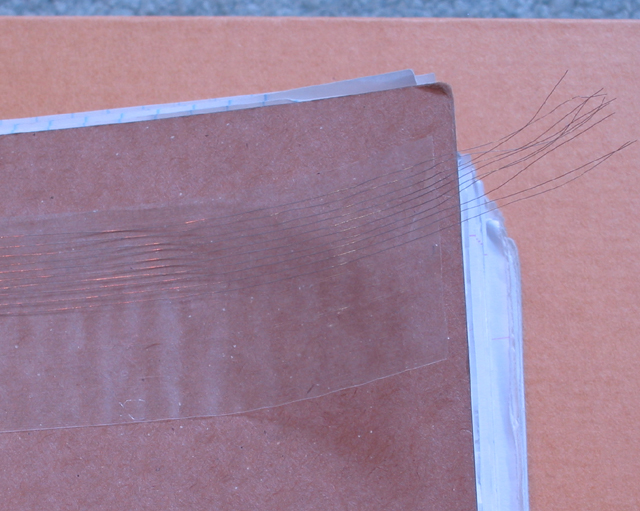
This image is of the cut flex cable. I used an x-acto knife instead of scissors for this job
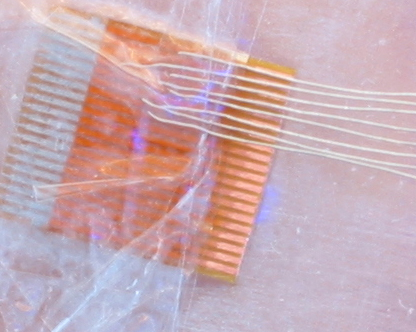
This image is of the home made extension, the wires are super thin.
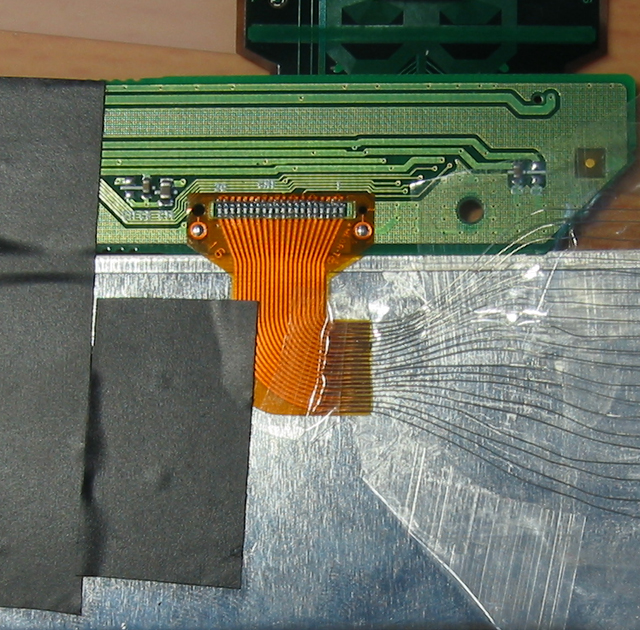
This image is one of my mistakes but its here just to show you how it is supposed to be placed on and pay attention to how much I sanded to reveal the copper. Don't do exactly what is on this image. I messed up while doing this cause as you can see I put tape on to make it straight each time I set one of the wire up so that left end got pretty thick and difficult to remove. I mage below has the correct method.
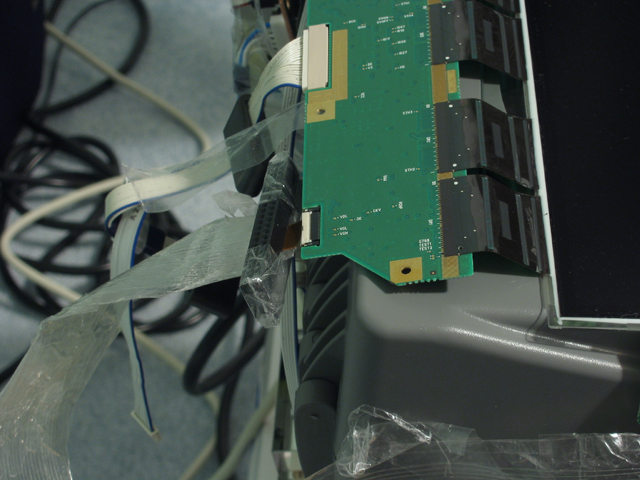
This is the image of the setting of the wire to the flex attached to the board. It's identical to what you wolud do for the other cut end.
This one is of the completed end that is clamped with the Ide plastic with a bunch of tape, I used a game port add on card extender for the other one since it was smaller but basically the same thing just cut it if you want to make it smaller.
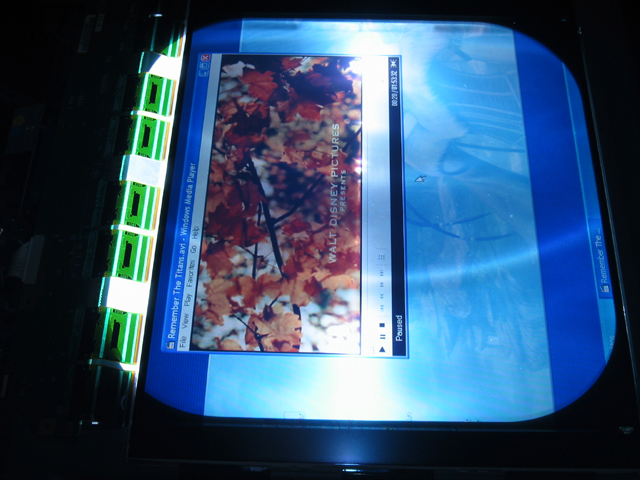
Finally the completed lcd turned on and fully functional.
|

